
Inflatable Stand-Up Paddle Boards (iSUPs) are relatively easy to set up, but it’s important to follow the manufacturer’s instructions for your specific board. Here is a general guide on how to inflate and set up an inflatable stand-up paddle board:
1. Unpack and Check Contents:
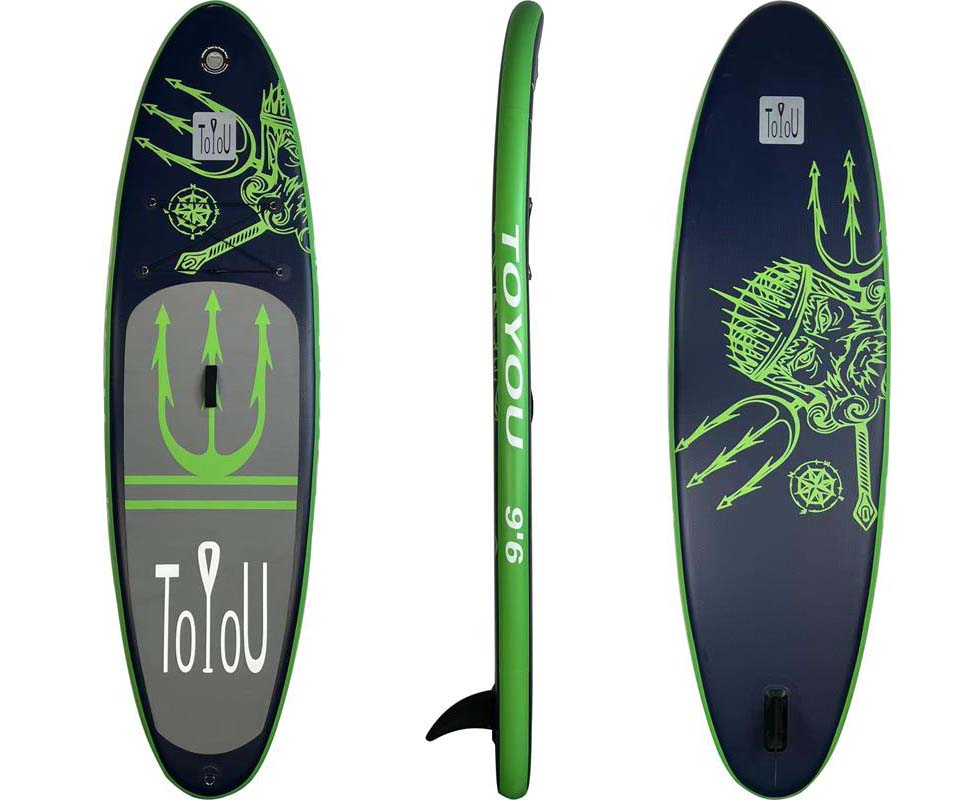
Open the inflatable paddle board package and check that all the necessary components are included. Typical components include the inflatable board, a pump, a paddle, a fin, a leash, and a repair kit.
2. Choose a Suitable Location:
Find a flat and open area where you can comfortably inflate the paddle board. Avoid rough surfaces that could damage the board.
3. Prepare the Pump:
If your board comes with a manual pump or an electric pump, prepare it for use. Attach the hose to the pump and ensure that all connections are secure.
4. Inflate the Paddle Board:
Lay the paddle board flat on the ground with the inflation valve facing up. Open the valve cap and attach the pump nozzle securely to the valve. Begin pumping air into the board.
Inflate the board to the recommended PSI (pounds per square inch), which is usually indicated on the board or in the manufacturer’s instructions. Most inflatable paddle boards are inflated to a range of 12 to 15 PSI.
5. Install the Fin:
Once the board is inflated, attach the included fin by sliding it into the fin box on the underside of the board. Ensure that it clicks securely into place.
6. Secure the Leash:
Attach the leash to the designated attachment point on the board. The leash is worn on your ankle to prevent the board from drifting away if you fall into the water.
7. Adjust the Paddle:
Adjust the paddle length based on your height. Most paddles have an adjustable shaft that allows you to customize the length. Ensure that the paddle is set to a comfortable height for efficient paddling.
8. Attach the Paddle Handle:
If your paddle has a detachable handle, attach it securely to the shaft. Some paddles have a lever or clamp mechanism for easy attachment.
9. Double-Check Everything:
Before heading into the water, double-check that the board is properly inflated, the fin is securely attached, the leash is properly connected, and the paddle is adjusted to the correct length.
10. Carry the Board to the Water:
With the paddle in hand and the leash attached to your ankle, carry the board to the water. Be cautious of any sharp objects on the ground that could damage the board.
11. Launch into the Water:
Depending on the water conditions, you can either launch by sitting on the board and paddling out or by standing and paddling from a kneeling position until you are ready to stand.
12. Enjoy Paddling:
Once on the water, enjoy paddling on your inflatable stand-up paddle board. Maintain good balance, use proper paddling techniques, and have fun exploring!
13. Deflate and Pack Up:
When you’re finished paddling, release the air from the board by opening the inflation valve. Roll the board from the opposite end of the valve to expel the air. Once deflated, roll the board tightly and secure it with the included straps. Pack all accessories back into their designated storage areas.
Always refer to the specific instructions provided by the manufacturer of your inflatable stand-up paddle board, as features and setup processes can vary. Taking the time to properly set up and care for your iSUP will ensure a safe and enjoyable paddling experience.